
Setting up No-IP with Freenas
I’ve had my Freenas server for almost a year now, but while away at school I can only SSH into the server if I know what my IP address is for my home router. Main problem? The public IP is changed every few months, leaving me with no way of knowing what my IP will be in the future. There are a multitude of ways to pay for these things, but I’m doing it on the cheap because I don’t have money or care for a subscription service. So here is what you will need:
- A router that supports DynDNS (I’m using the Actiontec router Verizon gave me)
- A server running Freenas
- A noip.com account
I’m going to take into assumption here that you have basic networking knowledge and know how to setup all these without me. I’m just going into how you can always access your Freenas server from anywhere outside of your home. Let’s get started.
Setting up No-IP
Start by creating your account. Once you have done that you want to go to “Manage DNS” on the top bar. You will be presented with an empty table asking if you want to add a new host. Click “Add host”.
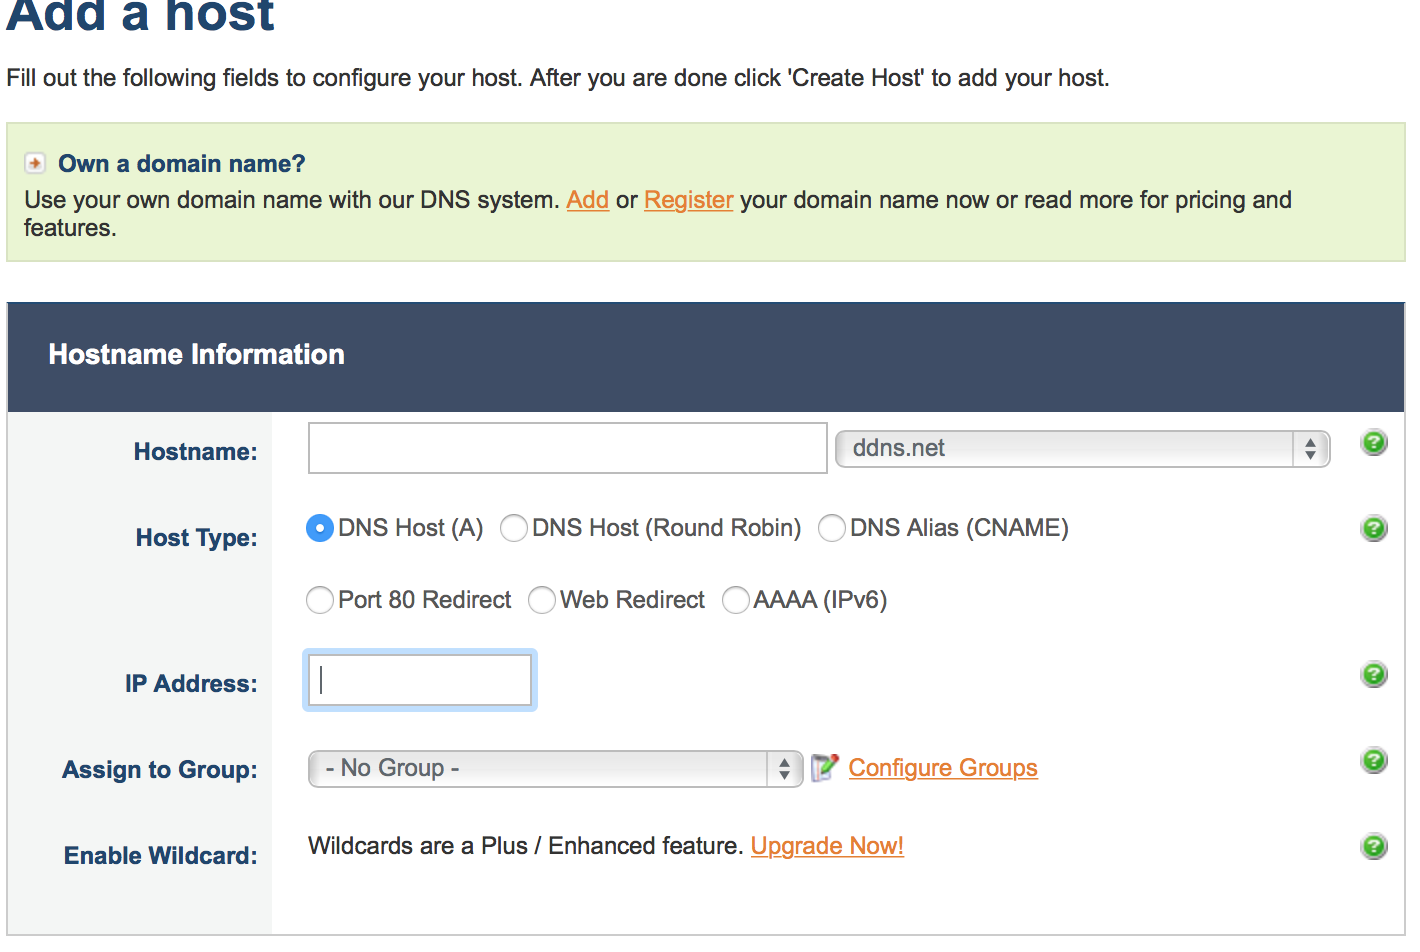
Here you want to fill out your Hostname. I suggest something easy to remember, like freenas-yourname.ddns.net. You will need this later, so remember it. The ending to the hostname doesn’t matter. It can be what ever you want from that drop down list. Leave the host type as DNS Host. Your IP address should be pre filled, if not you can go to whatsmyip.org to find out what your public IP is. After that, just go ahead and hit save. That’s all we need to worry about here.
Linking No-IP to your Router
Now that we have a noip account, we can go to our router settings and link it. Freenas also supports this feature, but it is easier if you go through your router (not to mention if you have other services, you can use those too). So first things first, time to access your router. My router uses 192.168.1.1 as the access address. Your router may vary. You will be presented with a login screen. Login so you can see your access panel. For Actiontec Routers, you will need to go to the “Advanced” tab. Once there, you want to find the link to “Dynamic DNS”. Go to that section. You will be presented with another empty table asking you to add an entry. Click to add an entry.
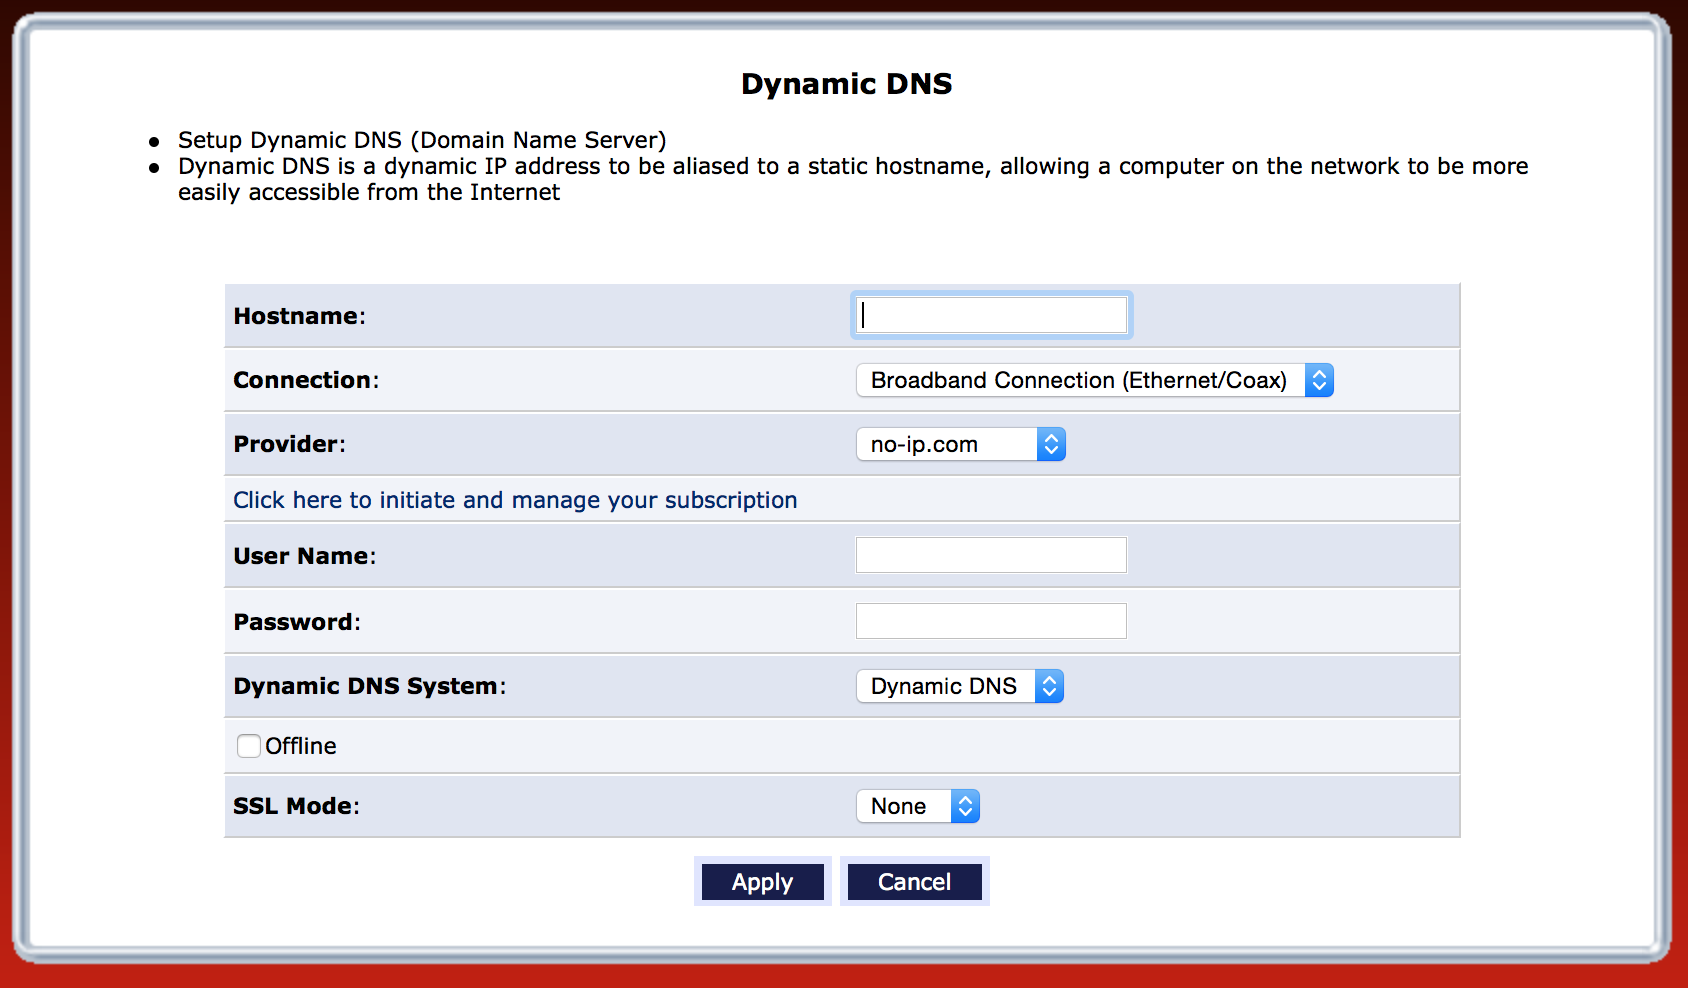
Note the hostname field. This is the name you filled in earlier. Remember the thing I said you would need later? This is it. Select your provider as no-ip.com, and fill in your username and password to your no-ip account. This is NOT your Freenas account! Leave everything else as is and click apply. It will take a second to save the data, so you may have to refresh the table. When it has made a connection with your account, you will see it set the label to “Updated” in green.
Setting up SSH and Port Forwarding
Now we want to be able to SSH into our Freenas box. To do so, we need to do two things. First, we need to tell our router that the IP address assigned to the Freenas box can be used for SSH. Second, we need to port forward the ports to the proper IP address.
First things first, while we are still in the Verizon Router, let’s make sure that if our box ever turns off, we always give it the same IP. To do this, under the “Advanced” tab, we want to go to “IP Address Distribution” -> “Connection List” and find the IP associated with your Freenas. Click the edit button, and select “Static Lease Type”. This will ensure that if your box ever reboots, it always gets the same IP address. This is important because next we have to tell the router to allow this IP address to accept incoming SSH connections. If our box were to reset to a different IP address, we would be locked out.
As stated above, we next want to port forward the IP address of our Freenas to accept incoming SSH connections. On my Verizon router, I need to go to the “Firewall” tab. This may vary if you are using a different router. Here you want to select “Port Forwarding” from the left hand side. You will be presented with a list of active ports, and options to add more ports.
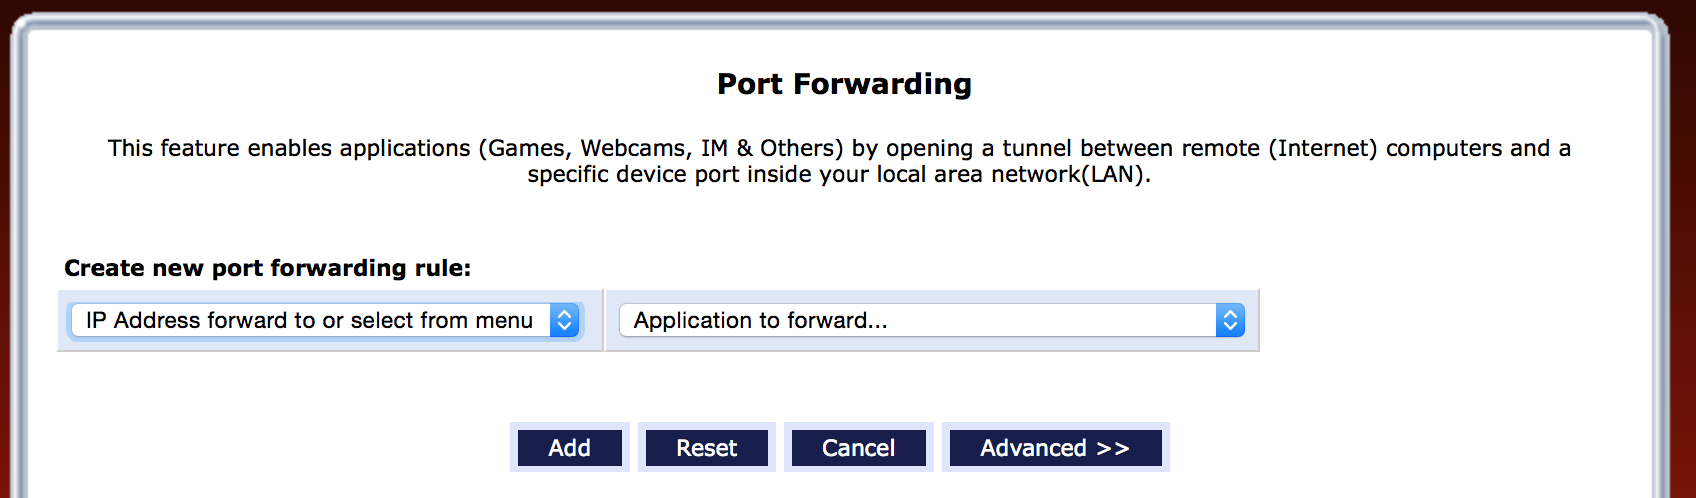
Select the IP that we just set to static, the one associated with your Freenas box. Then, where it says “Application to forward”, you are going to select “SSH” and then hit “Add”. In my case, I also selected “FTP” so I can access my files via something like Cyberduck or Transmission. Once you have added all the rules here, we can move on to setting your Freenas box to listen for this stuff.
Login to your Freenas via the WebGUI (you can do this by going to your browser and putting the IP address we just handled above in). Once you are logged in you will see a list of services on the left hand side. From this list you will want to select “SSH”. Fill in the popup box with the information below.
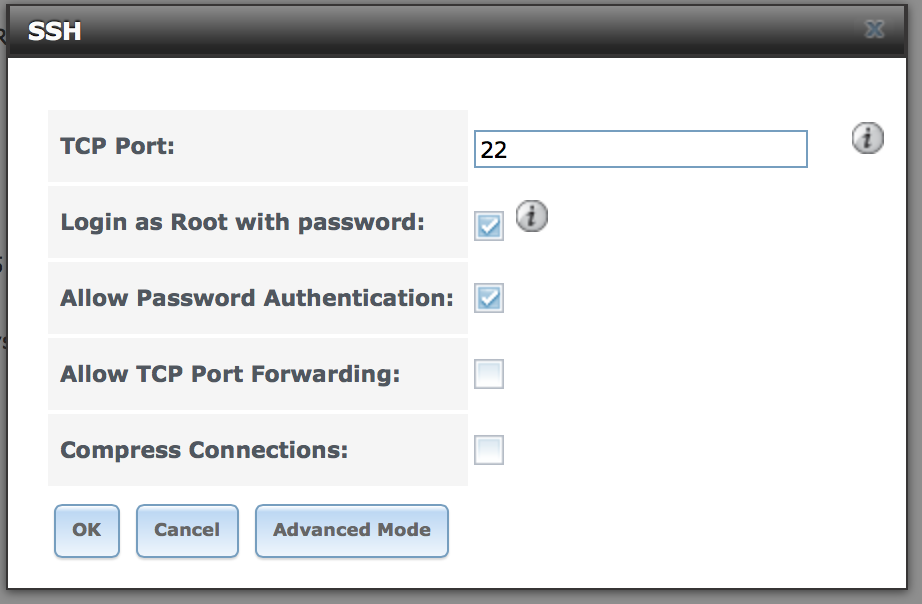
Once you have done that, you can hit “OK” to save the settings. Now that we have that set, we should be good to go!
Testing everything
To test your setup you are going to want to open up a terminal window. I like to use iTerm, but you can use what ever you want.
In the terminal you will want to type the following:
ssh yourNASUsername@yourDomain.ddns.net
Let’s break this out:
- SSH tells the terminal we want to use the SSH protocol.
- yourNASUsername is the user with which you want to access your NAS (if you have multiple users and groups this is useful because you can partition what each user or group can do). This is the username you use to log into your file shares if you have any.
- yourDomain.ddns.net is the url we made at the beginning using your noip account.
If all goes well you will be asked to log in with your password. Once you are in, you should now be able to access your files! Your console will output something like this if successful:
Last login: Mon Aug 17 07:19:16 2015 from YOUR IP

FreeBSD 9.2-RELEASE-p9 (FREENAS.amd64): Thu Jul  3 14:22:45 PDT 2014

	FreeNAS (c) 2009-2014, The FreeNAS Development Team

	All rights reserved.<br>
	FreeNAS is released under the modified BSD license.

	For more information, documentation, help or support, go here:
 	http://freenas.org
Welcome to FreeNAS
[Username@freenas] ~%
And that’s it! Now you can access your files from where ever, when ever, at the stroke of a key. Best of luck!